
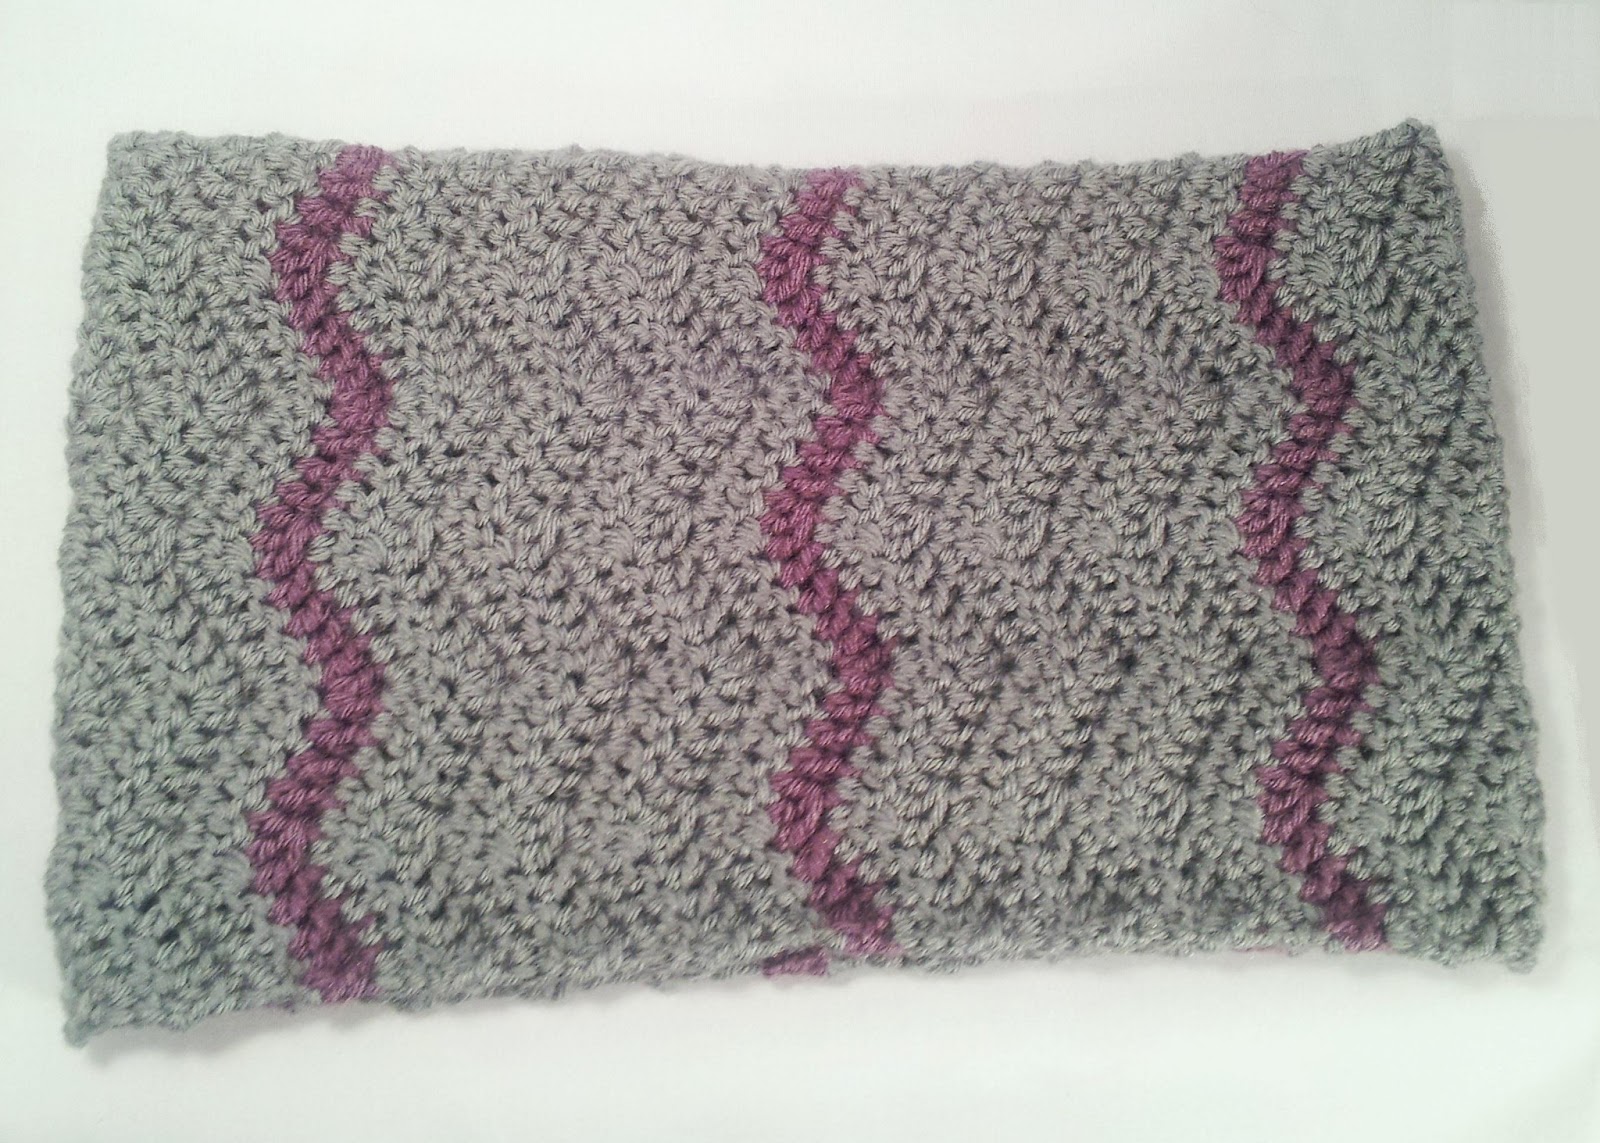
I decided to primarily use a single colour (pale gray) with a contrasting zigzag stripe (dusty purple) every 8 rows to emphasize the zigzaggedness (and yes I'm making up terms now) However you can obviously choose your own colour pattern, change colours every row, every other row, every 4th row, every 6th row, every 8th... whatever! It's all good! I know I'll be making different version of this soon!

I'm providing two versions, an easy and an advanced, of this pattern. I would personally advise anyone, who is comfortable with double crochet, to try the advanced version. The "advanced" techniques are pretty sparse throughout the pattern, and there are tons of tutorial online for them (including on this very blog), but I wanted to make sure that there was a version of this pattern that anyone (who can crochet) can make!
The easy version uses ch 2 or 3 at the beginning of every row (it's your choice as to which you use, I prefer a loose ch 2 usually, as it's easy to work into and keeps my edges tight, but ch 3 is technically the standard for starting a row of dc), and at the end of your last row, you need to sew the last and first rows together.
The advanced version uses chainless dc at the beginning of each row (besides the 1st row) and the cowl is formed into it's loop during the last row of crocheting by joining as you go, making it a seamless pattern.
Yarn: thick worsted/aran weight yarn (I used Vanna’s Choice; MC silver grey, CC dusty purple)
Hook: 6mm
Finished Size: 27" x 7 3/4" (approx.)
Special Stitches:
dc3tog: yo, insert hook in next st, pull up loop, yo, pull through 2 loops on hook* repeat 3 times, 4 loops on hook, yo, pull through all loops on hook
3dc: work 3 dc in same st
2dc: work 2 dc in same st
Cdc (chainless dc): see my tutorial on chainless dc
Join as you go: see my tutorial on join as you go
Advanced Pattern
with MC ch 32
1: dc in 4th ch from hook, dc 2, *dc3tog, dc 3, 3dc, dc 3* repeat three times, dc3tog, dc 4 (29)
2: Cdc, dc in same st, dc 2, *dc3tog, dc 3, 3dc, dc 3* repeat three times, dc3tog, dc 2, 2dc (29)
3-7: repeat row 2, change to CC at the end of the 7th row
8: repeat row 2, change to MC
9-47: repeat row 2, changing colours as per the pattern (7 rows in MC, 1 row in CC)
48: complete this row using the seamless join as you go method while still following the pattern established in row 2
finish off, sew in any loose ends
Easy Pattern
with MC ch 32
1: dc in 4th ch from hook, dc 2, *dc3tog, dc 3, 3dc, dc 3* repeat three times, dc3tog, dc 4 (29)
2: ch 2 or 3 (counts as 1st st), dc in same st, dc 2, *dc3tog, dc 3, 3dc, dc 3* repeat three times, dc3tog, dc 2, 2dc (29)
3-7: repeat row 2, change to CC at the end of the 7th row
8: repeat row 2, change to MC
9-48: repeat row 2, changing colours as per the pattern (7 rows in MC, 1 row in CC)
finish off, leaving a long tail, line up your first and last row and whip stitch them together
sew in any loose ends

No comments:
Post a Comment